Friday, November 15, 2019

Alternative parts : Replacing SID with ARMSID

The biggest problem with retro computers is sourcing parts, which haven’t been manufactured since the 1980s.  SIDs and CIAs are pretty expensive to replace these days so the new awesome alternative parts are fantastic.

I’ve got two c64s both with broken SIDs, so I thought I’d give the ARMSID a red hot go. I’m pleased to say everything I’ve read about them is true. I’m not an audio aficionado but they sound great to me.

You can read about them here and you can buy them from here.

It took about 3 weeks to get to me from the Czech Republic, most of that was probably spent in customs in Australia.


Monday, November 11, 2019

C64 : Another Black screen with signal . . . Complete

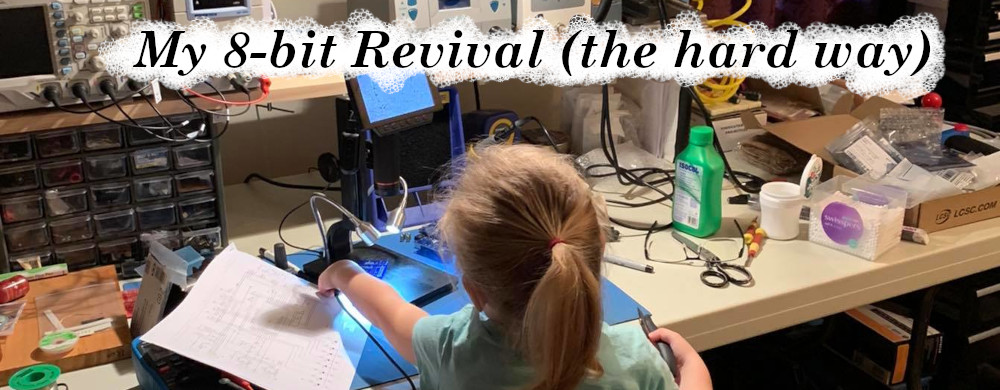
A few months ago I went out on Ebay looking for more dead c64's.

This time I got two, one looked like a really simple fix with a logic chip the other was a black screen. Fortunately ( or in my case Unfortunately ) I was sent the wrong for the logic chip issue and instead got a working c64 with one key missing, as a bonus the missing key was really easily replaced with one from https://www.retroleum.co.uk/.

The second c64 proved to be another black screen, however unlike the last one I was getting a PAL signal. The first thing I did was pull the SID and tried it in my newly created test board.  The SID was dead and only with the volume turned up to maximum could any sounds be heard, even then one of the voices was static.

Pulling the SID however didn't fix the black screen.

Putting in my trusty 1541 ultimate, I got a really clear normal menu with the Kernel overlay in place.  So I de-soldered the kernel and tested it in my test board.  The Kernel proved to be just fine so I put it back in place.

The next thing I did was de-solder CIA 1.  This also proved to not help as the CIA worked fine and I still had a black screen.

I had previously tried the put the memory chip over another memory chip to look for bad RAM so I tried it again on one of the two RAM chips.  I pushed the pins in so the made a good connection and nothing happened.  After mucking about pushing the RAM onto each of the RAM modules, the C64 sprang back into life.

So at this point in time I am thinking that I need to socket the left most RAM module as there maybe a dodgey solder connection there.

. . . Update . . .

After much playing about I simply can't reproduce the problem at all.  I've put in an ARMSID to replace the broken SID.  I've also put in brand new capacitors and installed a 5V powersaver.

Another unit working.


Indulging myself with a C128D

A while ago I bought a pretty cheap C128D keyboard on Ebay.  I have been using it a lot with my MiSTer using an Arduino as a USB HID interface.  The recently I got an Amiga 2000 keyboard to build a new interface for my MiSTer ** so the C128D keyboard was about to become surplus to requirements.

There is something about the C128D that I really liked so I picked up a working one all the way from Germany.  I'm really happy to say that it arrived safely and it works beautifully.  I am going to set this up with my 1084 monitor as my center piece for my Commodore retro collection.


It's so pretty!

** If you haven't seen the MiSTer project, you are missing out.  It is an Open Source project with a FPGA the runs a huge amount of retro computers, console and arcades.  I've been using it since it was first released, having been a Mist user previously.
MiSTer on Atari-Forum
MiSTer on GITHUB

Tuesday, October 1, 2019

Burning C64 ROMs ( part 2 ) : Cartridge ROMs and the Versa ZIF 64 cart

<== Read part 1

Ray Carlson's website often refers to the Jupiter Lander Cart being a great tool to identify bad Kernel ROMs.  So I searched around the internet for two things.

1) Why the cartridge was good for this diagnostic and a good reference came from the C64 Preservation website on the Commodore Max and Ultimax carts.

2) How could I make a cart and have a bit of fun at the same time, ultimately I settled on BWACK's VersaZIF64 github project and the original project Versa64Cart for the documentation pdf.

Building this project gave me another great excuse the burn some more roms using my Xgpro TL866II Plus and play with my eraser from Big Moon (or the scary skin cancer box).


VersaZIF64

I built this project pretty quickly by uploading the Gerbers to PCBWay and then ordering all of the BOM items from Digikey.  I thought as I was going to get 5 PCB's anyhow, I might as well build them all.

It was really easy to do everything as it was all documented very nicely in the github repository.

Burning the ROM

In the Versa64Cart git repository there is a great PDF on how to setup your cart after you've built it. It explains how to convert the .crt file to a .bin file for burning, how to get the config from the .crt file and then how to set the switches on your cart to get the rom to run.

The ROM itself is a Ceramic DIP 28 with a little window in it so it can be erased using UV light.  This particular chip is a 27C64 which holds a whopping 8K ( the smallest single image I can use for C64 carts ).  I also have some 27C128's which I can jam 16K images on (or 2 x 8K images).


Diagnostics

So how does this cart compare the my other carts and will it actually be useful. Well it so happens that I have a black screen C64 that generates a PAL signal (not as bad as the last repair I did). So these will be be my new test suite for my next C64 black screen repair.
Ultimate 64 - This works with the c64 only when the menu is entered (otherwise I get a black screen).  The keyboard works but games don't load and the drive resets when the C64 resets.
On the last black screen repair a similar result was seen with a good kernel rom and a bad CIA1, but the text was a bit garbled.  In this case the text is perfect and the keyboard works fine.


Dead Test Cart - This doesn't work. There is no white flashing so the RAM is possibly good?


Jupiter Lander - This starts up fine then gets some corruption after the title screen


Monday, September 23, 2019

Enhancement : Installing Open 64 Saver into my C64's


There are a number of C64 power savers out there, I have a couple of really nice units I bought from Heather at Amibay.  However I really liked the idea of having a power save in my C64 so that it didn't matter if I forgot, it would always be protected.

Trawling through the internet I found this on github which is based on Rays design :
https://github.com/SukkoPera/OpenC64Saver

The build was pretty simple, the repository had all of the resources required ( the BOM and Gerbers ) as well as the references to Ray Carlsens images on how to install the Saver internally.
http://personalpages.tds.net/~rcarlsen/cbm/c64/SAVER/MOBOs/

 You can see from the LED when it's active ( green ) and not active ( red ).  There is a variable resistor on it so you can get it set correctly.  I found with cased board that the heat caused it to trip at a lower voltage ( as per the Git notes ).  So I trimmed it up just a little bit.


The two mother boards I installed mine on were 250469's and required a trace to be cut.  This was a bit of a harrowing experience, but with a stanley knife, a steady hand and lot of patients I eventually got it cut nicely.  I used a multi meter to ensure the break.

Initially I was at a complete loss as to how I was going to mount it.  Then it struck me that it was small enough to be mounted behind the keyboard very neatly and more importantly I could mount it without worrying about it shorting out anything.  Take note of the NYLON screw and spacers I used, which fitted perfectly.


 When I first plugged it in I got a bit of a fright.  I am so used to plugging in the live power and nothing happening.  This time the relay kicked into life instantly because it sits before the power switch.  Which is totally awesome, as it will kill the power of a bad power supply even before I turn my c64 on.

C64 Off
C64 On