Saturday, August 31, 2019

Burning C64 ROMs ( part 1 ) : Kernel ROMs

I've always wanted to try to burn new EPROMS for my C64.  I remember as a kid pulling apart my carts and pretending I could mod all sorts of stuff into them.  Well now I can . . . sort of.

As part of my trouble shooting it looked like the Kernel/Basic ROM was shot so I thought I'd have a go at burning one.  Turns out it's actually pretty easy with the right equipment (It also turned out the Kernel ROM on the board was fine after all).

I bought myself a "TL866 II plus" and some 27128 EPROMS from Ebay.

This site has the C64 ROM images and which EPROMS are compatible:
https://ist.uwaterloo.ca/~schepers/roms.html


The UV Erasable ROMs I got were actually ST27c128 which the software didn't have an entry for, but I read on the internet that if you just use the AMD AM27C128 and turn off the "Check ID" it works fine, and it does.


Read part 2 ==>

Monday, August 26, 2019

Desoldering DIPs

I've had a bit of practice now desoldering DIPs, so here are some of my desoldering DIPs tips.

I use a cheap desoldering station, you can heat the work quickly then pull the trigger.  I've used manual solder suckers in the past and man I suck at using them, but the desoldering station, bang done. https://www.youtube.com/watch?v=Ft50m8UU5WQ

After inspection, if there is a lot of solder on some pins still (where it went right through the via normally) add some new solder and repeat the process again.  Putting fresh solder on initially helps as well.  I use a microscope and some ESD tweezers to have a good look.

Don't pull the IC's initially.  If you give them a little side ways twisting motion you can usually see which pins are not free.  Big dips are quite hard to remove and need more patience as the leg count increases.

For troublesome pins you'll need some flux and some desoldering braid.  While running the braid down the pins with the soldering iron, just push the pins into the body of the dip.  This helps get the pin off of the via and gets all the solder off of it.

Once you can give it a twist and see that all pins are moving freely you can pull it, with care.


Sunday, August 18, 2019

Repair : Amiga 600 Keyboard Troubleshooting and Fix

Having never owned an Amiga before and definitely never opening one I did something silly.  I pulled the keyboard membrane right out of the socket without unlocking it.  Only once I had fixed the board and got it back to a bootable state did I realise that a whole row of keys ( the caps lock row ) was dead.

So off to the internet I went. I read a lot about people inadvertently stripping the material off of the end of the membrane or just doing it from taking their Amiga's apart a lot.  I though darn it I just broke it.  However when I looked at the end of the membrane there was heaps of material left on it, nothing like the photos I had seen.

The people were talking about bad sockets as well.  I had a second Amiga 600 so I carefully unlocked the socket and swapped it into the other Amiga.  It worked, so there was nothing wrong with the socket.

The last thing I read was about carefully checking the membrane looking for breaks.  All in all it looked fine until I got to where the tail went into the keyboard.  I had already noticed rust on the RF shield above a corroded trace.  When I looked at the keyboard tray it was rusty in the same position.
Obviously the previous owner had spilt some water in the keyboard and it leaked.  And right at the join two of the traces had completely oxidized.


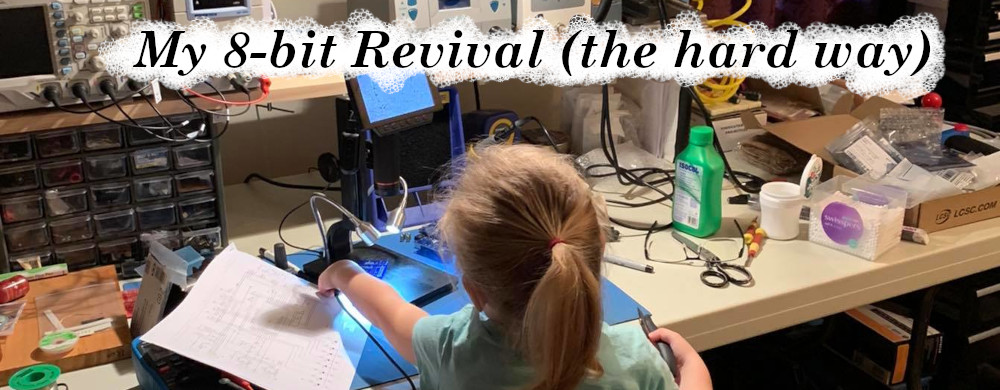
 It may be a bit hard to see in this photo but under the microscope it was easy to see lines 3 and 5 (from the left) have turned to mush.  I confirmed it with a multi-meter as well.  There was no fixing this bad boy.

I headed off to EBay and after carefully checking the membrane type ( there are different A600 keyboards requiring different membranes ), I got a membrane from retrocloud-store.
https://www.ebay.com.au/usr/retrocloud-store?_trksid=p2047675.l2559


The membrane came nicely sandwiched in two thick pieces of cardboard. Now it was time to clean up the keyboard.  The keyboard was dirty, however a good going over with a blower, a damp cloth and some q-tips fixed that. The tray was another issue.  Water had gotten into the edges and had rusted the inside of the tray.  I gave it a good sanding and washed and dried it.  Then I gave it a coat of Zinc Gal (used to protect welds) over the tray.


Now I've got nice clean working keyboard to go with my Amiga 600.

Friday, August 16, 2019

Alternative parts : Replacing the 8701 with TOLB

As part of the Black Screen repair I had discovered that the 8701 timer was bad.  There was not video signal coming out of the c64 at all.  With a swap of a good 8701 it was confirmed, but in the end I needed a new 8701.

So I bought a couple of TOLB (pal) from Eslapion and they've just arrived from Canada so in they go!!
https://www.ebay.com.au/usr/eslapion


They work really well.  He sells two versions one for PAL and one for NTSC and he sells a PLA replacement as well for older c64's ( not my c64c's which have a much bigger PLA with more integrated logic ).


Saturday, August 10, 2019

Repair : C64 No signal, black screen fix - part 2


Who's the suspect?

So at this point I was stuck.  I scoured and read every bit of Ray Carlsons C64C chip notes.
http://personalpages.tds.net/~rcarlsen/cbm.html

I'd looked at every single picture of the C64 pictorial fault guide.
https://derbian.webs.com/c64diag/

The only cart I had that sort of worked was my dead test cart.

But then I had a flash of inspiration.

Ultimate II 1541

Now I mentioned Gideon's Ultimate 64 in part 1 of this article.  However I also had an Ultimate II 1541.  Initially I wanted to use it to make sure the disk test I had done with the 1571 was okay.


When I plugged the cart in and turned it on . . . nothing.  The disk light flashed but the screen was black, but then something great happened.  When I brought the menu up with the middle button on the cart I got this!


Looking at it I could make out where the menu text was meant to be.  There was a lot of junk on the screen but I could definitely see the menu.


The Kernel is a bit iffy

Looking back at the Ray's site and the Fault guide, everything started pointing to a Kernel Fault.  This also made sense as the Kernel and Basic ROM are on the same chip.  So when I returned back to Basic I'd get a black screen, but then when I went back to the Cart menu, it didn't use basic.

So it's definitely the Kernel Basic Rom and probably the Character Rom too.


I didn't have anything that could replace the Kernel Rom, OR DID I!!!  One of the great things you can do with the Ultimate II is to use a replacement Kernel Rom and VOILA!!  When I return back to basic I get nothing, but that's to be expected as the Cart can not replace the Basic or the Character Roms.


Slow boat from China . . .

At this point I'm waiting for some EPROMs and a Burner to come from AliExpress and for some replacement parts from Ebay . . . so stay tuned.